What it means
Hammer and hanging man are visually identical: small real body (open and close near each other) with a long lower wick at least 2x the body length, and little-to-no upper wick. The interpretation depends on context. Hammer at the bottom of a downtrend = bullish reversal (sellers tried to push down but were absorbed). Hanging man at the top of an uptrend = bearish reversal (sellers tested the upside but buyers couldn't sustain).
Why it matters
The long lower wick captures a real flow event: price was pushed materially lower during the session, then bought back by close. That tells you supply was absorbed at the low. In a downtrend context (hammer) that's bullish; in an uptrend context (hanging man) it's a warning — the warning is that buyers couldn't hold prices up after the test, suggesting demand is weakening.
How to use it
Confirmation is essential: hammer requires the NEXT candle to close above the hammer's body high; hanging man requires the next candle to close below the hanging man's body low. Without confirmation, the failure rate is ~40-50%. With confirmation, ~62-68% per Bulkowski. Stop beyond the wick extreme (low for hammer, high for hanging man).
BTC March 2024: $61,000 swing low formed as a clear hammer (open $63,200, close $63,800, low $59,500). Confirmation green candle closed at $66,200 next day. Rally to $73,800 over next 9 sessions.
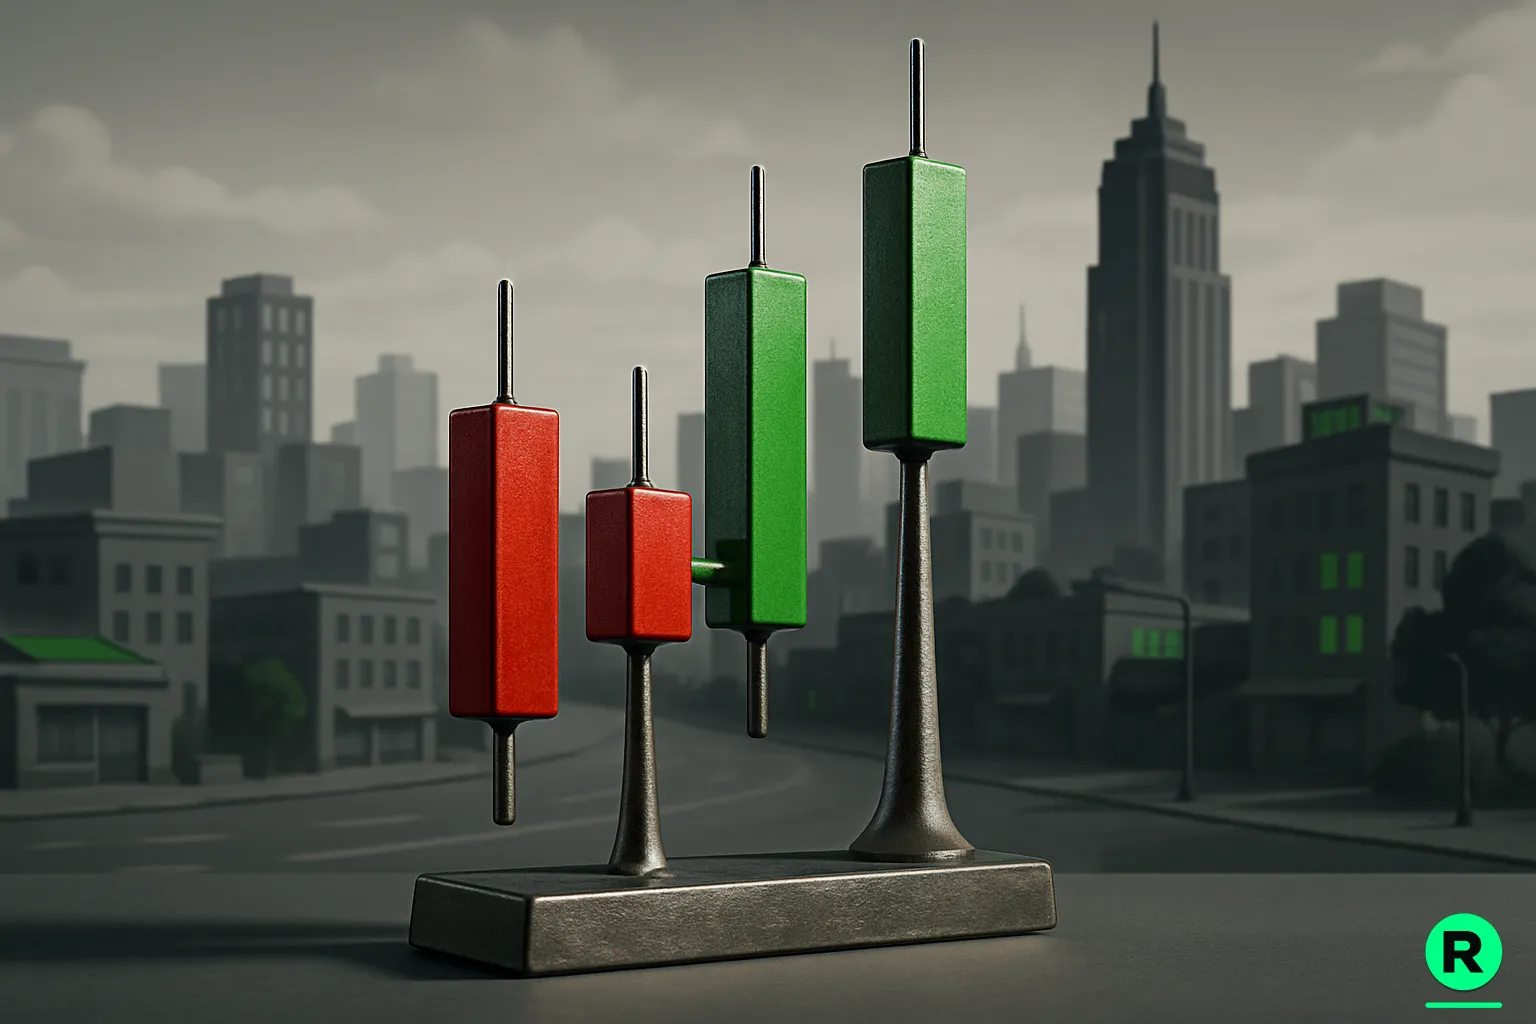
Hammer vs hanging man — same shape, different context
The candles are geometrically identical: small body, long lower wick, little upper wick. What distinguishes them: the TREND CONTEXT. Hammer appears after a downtrend (3+ red sessions or significant decline). Hanging man appears after an uptrend (3+ green sessions or significant rise). Same pattern, opposite signals based on which trend it appears against.
Wick-to-body ratio and reliability
Stricter wick ratios = higher reliability. The classic 2:1 wick-to-body ratio is the minimum; 3:1 ratios are stronger; 4:1+ are highest reliability. The body color (red vs green) matters less than reliability research suggests — what matters is the rejection from the low (lower wick length) and the proximity of close to the high (small body near the top of the range).
Frequently asked
Does the body color matter for hammer/hanging man?
Less than retail folklore suggests. Bullish hammers (green body) are marginally more reliable than bearish ones (red body) but the difference is ~5 percentage points. The wick length and trend context matter much more than body color.
What's the difference between hammer and pin bar?
Often used interchangeably. Strict definition: hammer is the Japanese candlestick name; pin bar is the price-action-trading name for the same structure. Some traders use 'pin bar' as a broader term including the inverted hammer / shooting star (long upper wick variants).
Does the hammer have to occur at a support level?
Higher reliability when it does. Hammers at confluence (prior swing low + horizontal support + Fibonacci 61.8% retrace + oversold RSI) outperform hammers in mid-range by 2-3x. The pattern alone is weak signal; combined with confluence it's strong.
Can a hammer fail?
Yes — 30-40% of confirmed hammers fail to follow through more than 1-2 sessions. The most common failure: hammer at minor support during a strong downtrend — the downtrend overwhelms the local reversal signal. Don't trade hammers against the dominant trend without confluence.
Want a worked example or a deeper dive? Ask Rocky how this concept applies to your specific watchlist or trade idea.
Ask Rocky